JLINK Driver Installation
The JTAG debugger is mainly used for debugging or downloading firmware to flash memory during software development.
Jlink V8 or V9 JTAG debugger is supported in the development environment of MXCHIP,
and the installation of the JLINK driver is as follows.
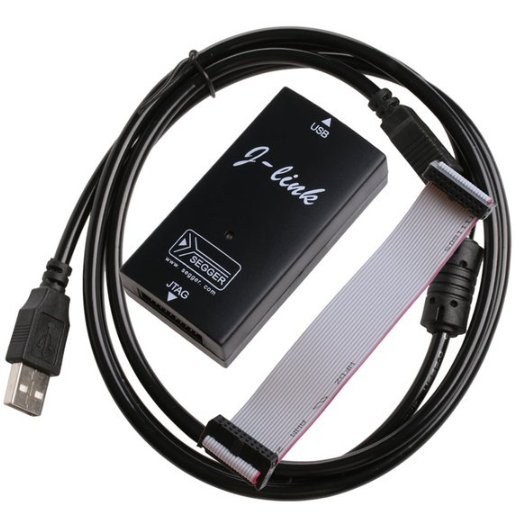
1. Connect JLINK to PC with USB cable.
2. Software pack is downloaded and installed from the link below, and the driver also will be installed.
§ https://www.segger.com/downloads/jlink/
3. After the installation is complete, you can check in the device manager that the USB port will be newly assigned.
4. USB Driver must be newly installed. Download and run the USB driver installation software from the link below.
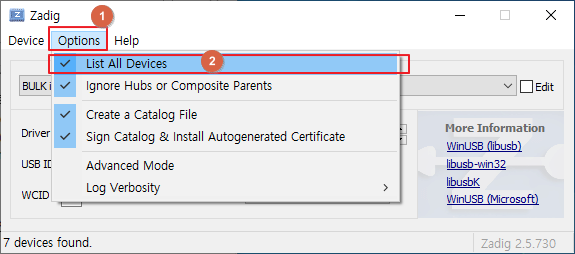
5. Click “Options” in zadig’s menu and select “List All Devices” from the drop-down list.
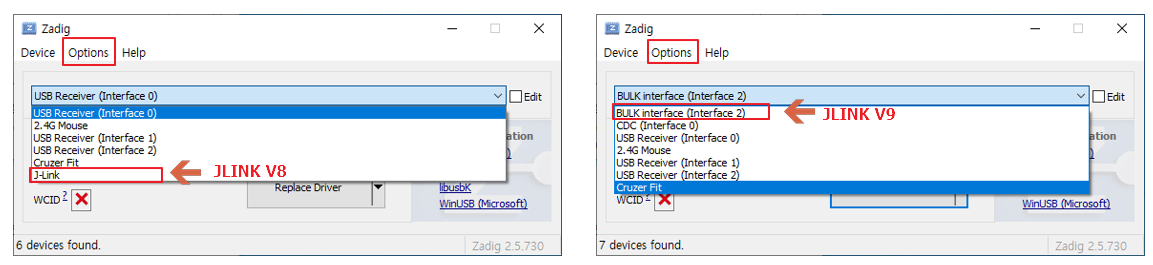
6. Select Jlink or BULK interface (Interface 2) from the device list.
7. Select libusb-win32 (v1.2.6.0) and click “Reinstall Driver”
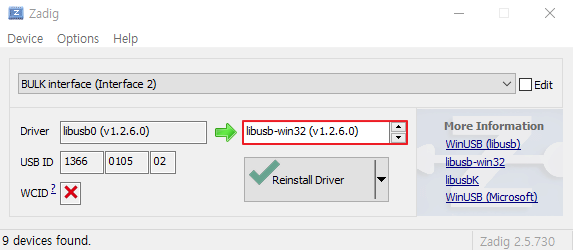
8. After a while(around 30sec), a “successful” message pop-up window will appear,
Close the window, and you can check the installation result in the PC device manager as shown below
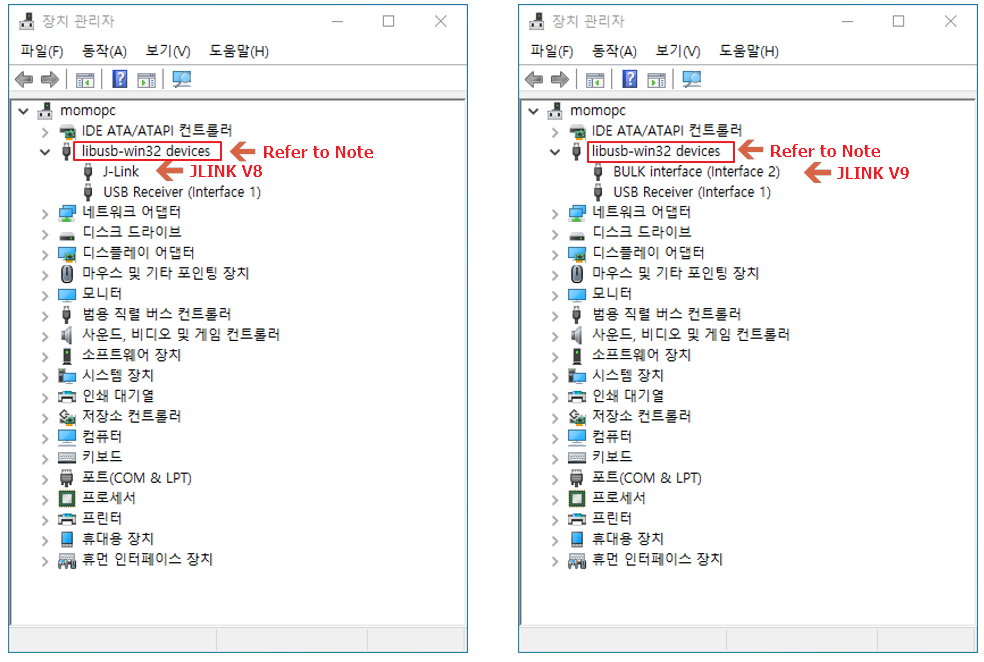
Note. If you used JLINK of other development tools, it may not be displayed as “libusb-win32 devices”.
In this case, you must delete the history of the originally installed device from the PC.
![]()
Radar Sensor SoC & Module
![]()
WiFi IoT Module
![]()
5G/LTE/CAT-M1/NB-IoT
![]()
WiSUN/HaLow/Thread Module
![]()